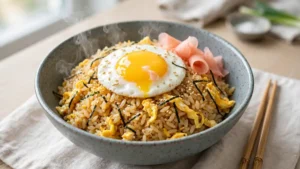
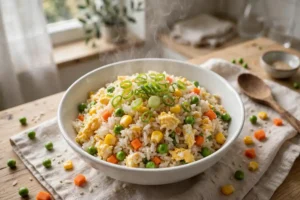
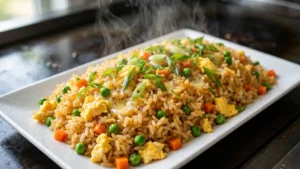
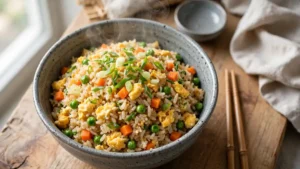
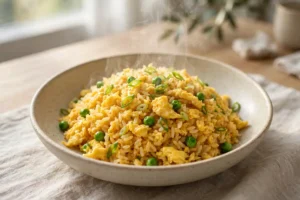
In the Philippines, breakfast often starts with sinangag, a simple garlic fried rice made from yesterday’s rice and a generous amount of toasted garlic. This Filipino garlic fried rice recipe brings that tradition to your kitchen: fluffy rice tossed with golden, crispy garlic, a touch of butter, and seasoning so simple it lets the garlic shine. It is humble, deeply savory, and ready in about 20 minutes.
The secret is treating the garlic in two stages. Some garlic fries until deeply golden and crisp for topping, while the rest cooks gently in the rice for mellow, sweet garlic flavor throughout.
Menu of Filipino Garlic Fried Rice Recipe
This Filipino garlic fried rice recipe covers the full ingredient list with US measurements, step-by-step instructions with garlic technique, why the two-stage garlic method works, chef tips, a troubleshooting table, substitutions, variations, storage and reheating guidance, and answers to common questions.
Ingredients for Filipino Garlic Fried Rice Recipe

For the Garlic Fried Rice
- 4 cups cooked jasmine rice or long-grain white rice, chilled (day-old is best)
- 1 whole head garlic (about 10 to 12 cloves), thinly sliced or roughly chopped
- 3 tablespoons vegetable oil or neutral oil
- 1 tablespoon unsalted butter
- 1 teaspoon salt, or to taste
- 1/2 teaspoon black pepper
- 2 green onions, thinly sliced (optional)
For Serving (Traditional Silog Pairings)
- Fried eggs
- Tocino (Filipino sweet cured pork), longganisa (Filipino sausage), or tapa (cured beef)
- Sliced tomatoes
- Vinegar dipping sauce (1/4 cup white vinegar with 1 minced garlic clove and a pinch of salt)
Notes on ingredients: Garlic quantity is not a typo: a full head is traditional and correct. Slicing the garlic thinly gives you crisp chips; chopping roughly gives softer, more evenly distributed flavor. Many cooks do a mix of both. Use jasmine rice for its fragrance, or any long-grain white rice you have. The rice must be cold and day-old, since fresh rice turns mushy under the garlic oil. Choose firm, heavy garlic heads with tight skins. Avoid garlic that feels soft or has green sprouts in the center, which taste bitter. Unsalted butter lets you control the salt, and a neutral oil with a high smoke point keeps the garlic from burning.
You will need: a large wok or 12-inch skillet, a slotted spoon, and a paper towel-lined plate for draining the garlic chips.
How to Make Filipino Garlic Fried Rice Recipe
Step 1: Prep Everything
Thinly slice half the garlic into chips and roughly chop the other half. Break up the cold rice with your fingers so no clumps remain. Slice the green onions if using. This recipe moves quickly once the garlic hits the oil, so keep everything within reach.
Step 2: Crisp the Garlic Chips
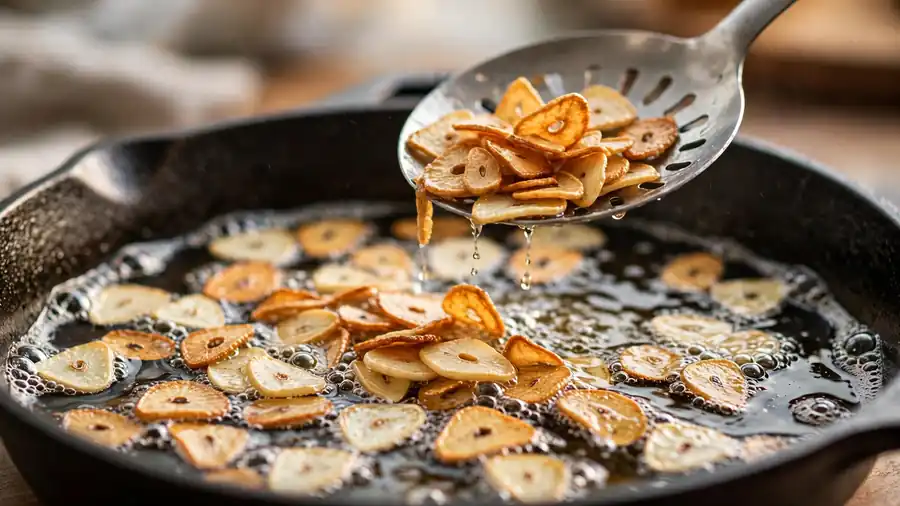
Heat the oil in the wok or skillet over medium heat. Add the sliced garlic and cook 2 to 3 minutes, stirring often, until the slices turn light golden. Watch closely: garlic goes from golden to burned in seconds. Lift the chips out with a slotted spoon and drain them on a paper towel-lined plate. They will crisp further as they cool. Leave the garlicky oil in the pan.
Step 3: Soften the Chopped Garlic
Add the chopped garlic to the same oil and cook over medium heat 1 to 2 minutes, stirring, until fragrant and just turning golden. Do not let it brown deeply, since this garlic stays in the dish and burned bits will make everything bitter.
Step 4: Fry the Rice
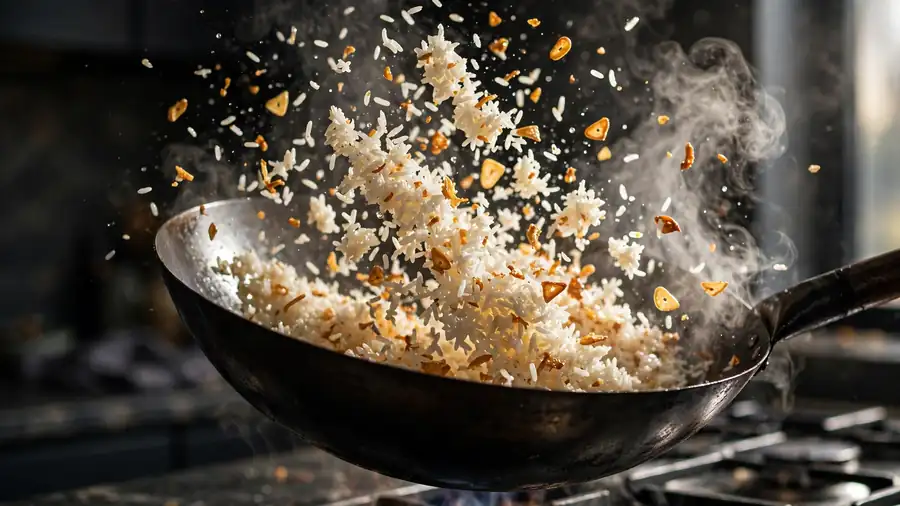
Raise the heat to medium-high. Add the cold rice and break up any remaining clumps. Stir-fry 3 to 4 minutes, tossing constantly, until the grains are hot through, lightly toasted, and coated in the garlic oil. Sprinkle the salt and pepper evenly over the rice and toss to distribute.
Step 5: Finish with Butter
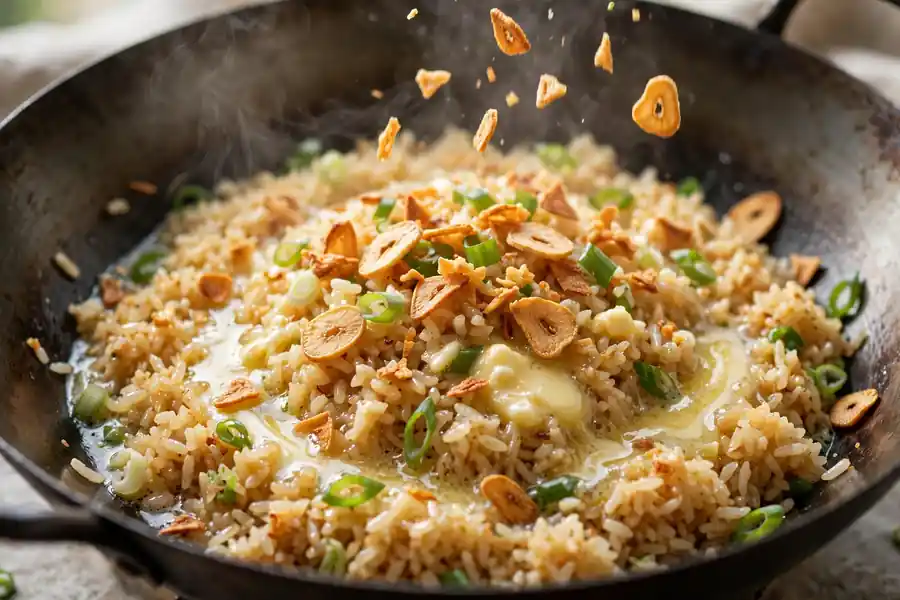
Add the butter and toss until it melts and coats every grain with a glossy sheen. Return half the crispy garlic chips to the pan and toss once more. Taste and adjust the salt.
Step 6: Serve
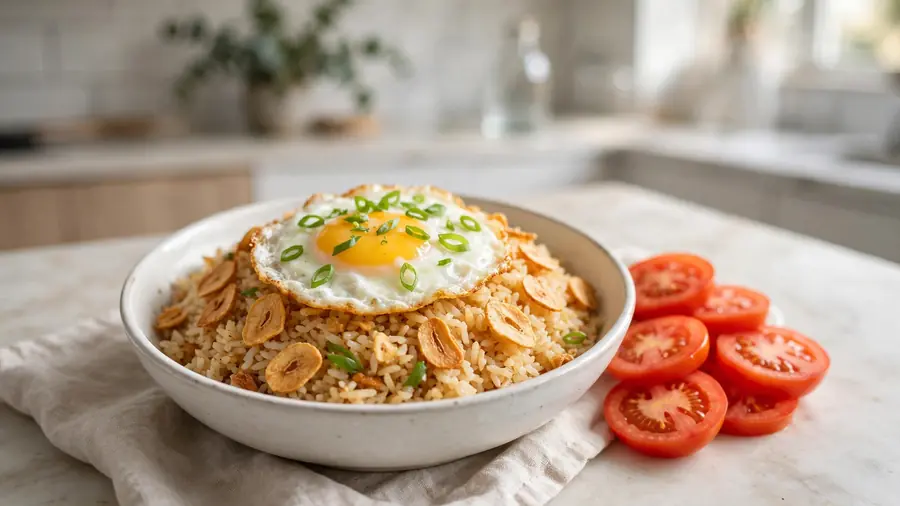
Transfer to a serving dish and top with the remaining crispy garlic chips and sliced green onions. Serve hot with fried eggs, your choice of Filipino cured meat, sliced tomatoes, and vinegar dipping sauce on the side.
Why This Works
- Garlic changes completely with heat. Gently cooked garlic is sweet and mellow; deeply toasted garlic is nutty and crisp; burned garlic is bitter and harsh. This recipe uses both of the good versions: crispy garlic chips for topping and soft, golden garlic folded through the rice.
- Day-old rice stays separate. Fresh rice is too soft and absorbs the garlic oil into a greasy mass, while chilled rice stays separate and lets each grain get coated in garlicky flavor.
- Butter finishes the dish. A little butter at the end adds richness and helps the crispy garlic stick to the rice.
- Garlic keeps cooking off the heat. The chips darken as they cool, so pulling them at light golden is what keeps them sweet instead of bitter.
Chef’s Tips for the Best Results
- Watch the garlic like a hawk. Garlic burns fast, and there is no fixing burned garlic. Pull the chips when they are light golden; they darken as they cool.
- Fry the garlic in cool oil, not screaming-hot oil. Starting over medium heat gives you control and even toasting. High heat is for the rice stage, not the garlic stage.
- Salt in layers. Sprinkle the salt over the rice while tossing, not into the oil, so it distributes evenly instead of settling.
- Save some crispy garlic for the top. The chips folded into the rice soften slightly, while the ones on top stay crunchy. Both textures make the dish better.
Common Mistakes and How to Fix Them
| Common Problem | Why It Happens | How to Fix It |
|---|---|---|
| Garlic tastes bitter | It was cooked too hot or too long | Cook garlic over medium heat, pull chips at light golden, and discard any dark brown pieces |
| Rice turns mushy | Fresh rice was used | Use cold, day-old rice, or chill fresh rice uncovered for at least 4 hours |
| Dish is greasy | Too much oil was used | Measure the oil; 3 tablespoons is enough for 4 cups of rice |
| Garlic chips are soggy | They were left in the hot oil too long | Lift them out promptly and drain on paper towels so they crisp as they cool |
| Flavor is flat | Not enough salt, or the garlic was under-toasted | Salt generously and make sure the garlic reaches a true golden color |
Ingredient Substitutions
| Original Ingredient | Substitute | Expected Difference |
|---|---|---|
| Vegetable oil | Coconut oil or lard | Coconut oil adds a subtle sweetness; lard adds rich pork flavor |
| Unsalted butter | Salted butter or margarine | Reduce the added salt by half if using salted butter |
| Jasmine rice | Long-grain white rice | Slightly less fragrant but still excellent |
| Fresh garlic | 3 tablespoons garlic powder (not recommended) | Much less flavor and no crispy chips; fresh is strongly preferred |
| Green onions | Chopped chives | Similar mild onion flavor |
Recipe Variations
Spicy garlic fried rice: Add 1/2 teaspoon red pepper flakes with the chopped garlic for gentle heat.
Egg-topped (silog style): Serve over the rice with a sunny-side-up egg and a side of tocino or longganisa for the classic Filipino breakfast plate.
Tuna garlic fried rice: Fold in a drained can of tuna with the butter for a quick, protein-packed lunch.
Shrimp version: Sear 1/2 pound of shrimp before the garlic, set aside, and fold back in at the end.
Vegetable version: Add diced carrots, peas, or chopped cabbage with the rice for extra color and nutrition.
Deeper umami version: Add 1 to 2 teaspoons of fish sauce or light soy sauce with the salt for a richer, more savory plate. Note that soy sauce will tint the rice; salt alone keeps it pale and white.
Store, Reheat, and Prep Ahead
Cool leftovers within 2 hours and refrigerate in airtight containers for up to 4 days. Freeze portions in freezer bags with the air pressed out for up to 2 months, and thaw overnight in the refrigerator. Discard leftovers that smell sour, feel slimy, or sat at room temperature longer than 2 hours. Because this dish often sits alongside eggs and meat, keep the rice refrigerated and reheat it thoroughly.
To reheat, warm it in a skillet over medium-high heat with a teaspoon of oil, stirring, for 3 to 4 minutes, adding a splash of water if the rice looks dry, and top with a few fresh crispy garlic chips if you have them. The microwave works too: sprinkle with a tablespoon of water, cover loosely, and heat 2 minutes, stirring halfway. If serving with eggs or meat, reheat those to 165 degrees F (74 degrees C) throughout.
For prep ahead, cook the rice a day ahead; that is the single most important prep step. Slice and chop the garlic up to 2 days ahead and store it in an airtight container in the refrigerator. You can even crisp the garlic chips a day ahead and keep them in a sealed container at room temperature, adding them fresh at serving time for maximum crunch.
More Rice Recipes to Try
If you enjoyed this recipe, you will love these other rice dishes from The World of Rice:
- Easy Garlic Fried Rice Recipe: Crispy, Buttery & Ready in 15 Minutes
- Authentic Chinese Shrimp Fried Rice Recipe: Traditional Technique, Pure Flavor
- Authentic Egg Fried Rice Recipe: Simple, Silky & Perfectly Golden
- Authentic Fried Rice Recipe With Egg: The Traditional Golden Method
Frequently Asked Questions
What is sinangag?
Sinangag is Filipino garlic fried rice, traditionally made with day-old rice and lots of garlic. It is a staple of the Filipino breakfast plate called silog.
How much garlic do I really need?
A full head, about 10 to 12 cloves. It sounds like a lot, but garlic mellows as it cooks, and the dish is built around its flavor.
Can I use fresh rice?
It is not recommended. Fresh rice is too moist and turns mushy. Spread fresh rice on a sheet pan and refrigerate uncovered for at least 4 hours if needed.
How do I keep the garlic from burning?
Cook it over medium heat, stir often, and pull the chips when they are light golden. They continue darkening off the heat.
What do I serve with garlic fried rice?
Fried eggs and Filipino cured meats like tocino, longganisa, or tapa are traditional, with sliced tomatoes and a vinegar dipping sauce on the side.
Final Thoughts
This Filipino garlic fried rice recipe is proof that the simplest dishes are often the most satisfying. Use day-old rice, be generous with the garlic, and never let it burn. Try it this weekend as a breakfast plate with a fried egg.
See the dictionary definitions for butter and jasmine rice.

Prayvista Team is the editorial team behind Prayvista, The World of Rice. The team writes and reviews rice recipes for home cooks, and every article is checked by editor Sara Raza before publishing.