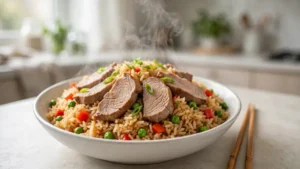
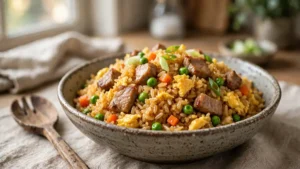
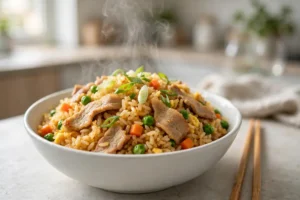
Kimchi fried rice is the ultimate fridge-cleanout dinner: sour, spicy, savory, and ready in about 20 minutes. This kimchi fried rice recipe easy version keeps the ingredient list short and the technique simple, so even a first-timer gets crispy rice, caramelized kimchi, and that glossy gochujang coating.
The appeal of an easy kimchi fried rice recipe is how little it demands. Day-old rice, a jar of kimchi, and a few pantry sauces turn into something far better than the sum of its parts.
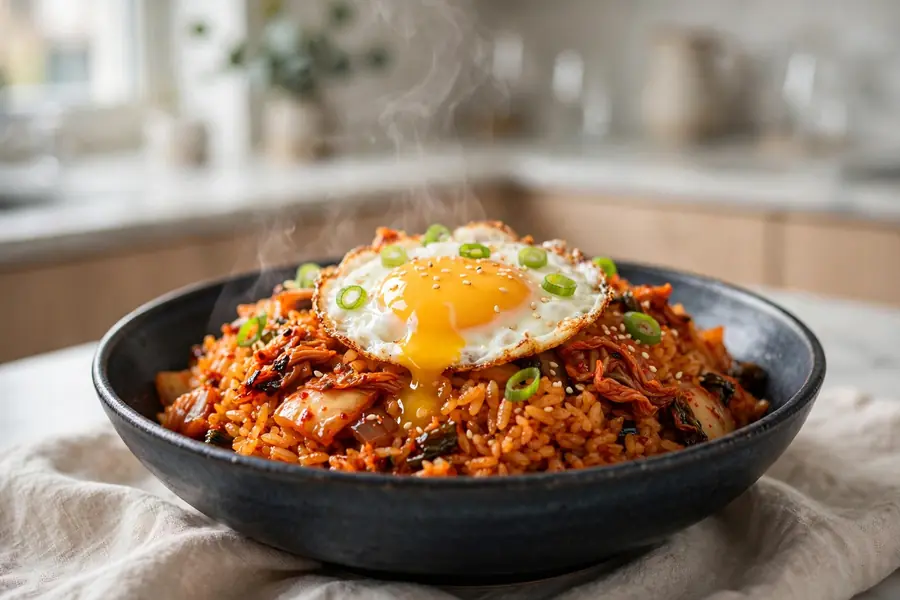
Menu of Kimchi Fried Rice Recipe Easy
This kimchi fried rice recipe easy guide covers the full ingredient list with US measurements, step-by-step instructions, why the kimchi technique works, chef tips, a troubleshooting table, substitutions, variations, storage and reheating guidance, and answers to common questions.
Ingredients for Kimchi Fried Rice Recipe Easy
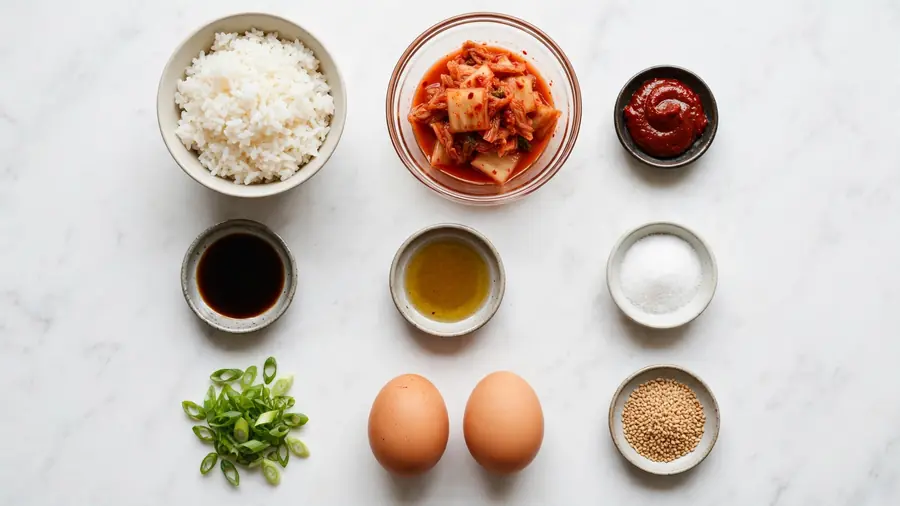
For the Fried Rice
- 4 cups cooked short or medium-grain rice, chilled overnight
- 1 1/2 cups kimchi, chopped, plus 2 tablespoons kimchi juice
- 1 tablespoon neutral oil
- 1 teaspoon toasted sesame oil
- 2 green onions, thinly sliced
For the Seasoning
- 1 tablespoon gochujang (Korean chili paste)
- 1 tablespoon soy sauce
- 1 teaspoon sugar
- 1/2 teaspoon fine sea salt, to taste
For Serving (Optional but Recommended)
- 4 fried eggs, one per serving
- 1 tablespoon toasted sesame seeds
- Extra sliced green onions
Notes on ingredients: Use well-fermented, sour kimchi, not fresh mild kimchi. Older kimchi that has been in the fridge for a few weeks is more acidic and flavorful, which is exactly what this dish needs. If your kimchi is very fresh and mild, add an extra teaspoon of kimchi juice or a squeeze of rice vinegar. The kimchi juice is not optional: it carries the fermented tang that defines the dish, so scoop it from the jar along with the chopped kimchi. Short or medium-grain rice is traditional; its slight stickiness helps the grains clump just enough to crisp in satisfying patches. Long-grain rice works but gives a looser, drier result. Gochujang brands vary in heat and sweetness, so start with the measured amount, taste, and add more if you like it spicier.
You will need: a large wok or 12-inch heavy skillet, a wok spatula or stiff wooden spoon, a cutting board and knife for chopping the kimchi, a small bowl for mixing the seasoning, and a separate small skillet if you are frying eggs for topping.
How to Make Kimchi Fried Rice Recipe Easy
Step 1: Prep the Kimchi and Rice
Chop the kimchi into bite-size pieces, reserving 2 tablespoons of the juice from the jar. Kitchen scissors work well here and keep the juice off your cutting board. Break up the cold rice so no clumps remain. Stir the gochujang, soy sauce, sugar, and kimchi juice together in a small bowl until the gochujang dissolves. Slice the green onions. This kimchi fried rice recipe easy method moves fast, so stage everything near the stove.
Step 2: Fry the Kimchi
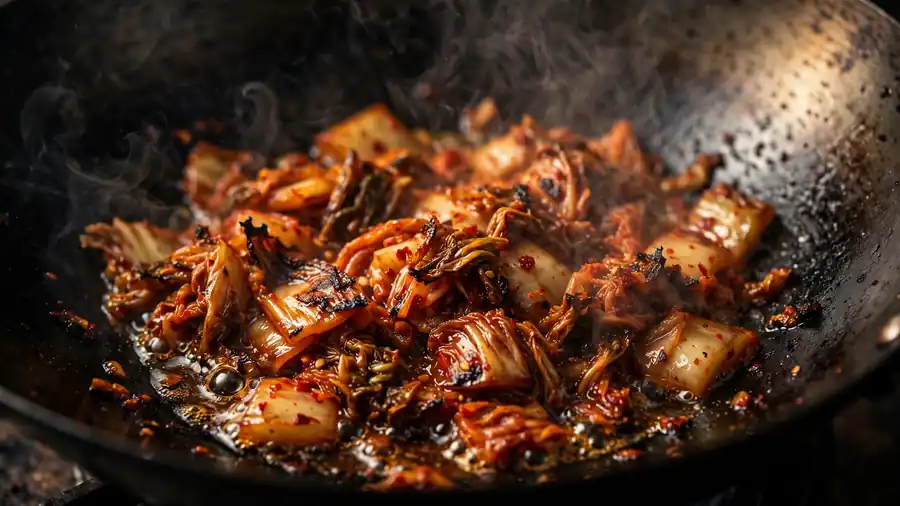
Heat the neutral oil in the wok over medium-high heat until shimmering. Add the chopped kimchi and stir-fry 2 to 3 minutes until it softens, darkens slightly, and smells sweet and caramelized. This step cooks off the raw edge and concentrates the flavor. Do not skip it.
Step 3: Add the Rice
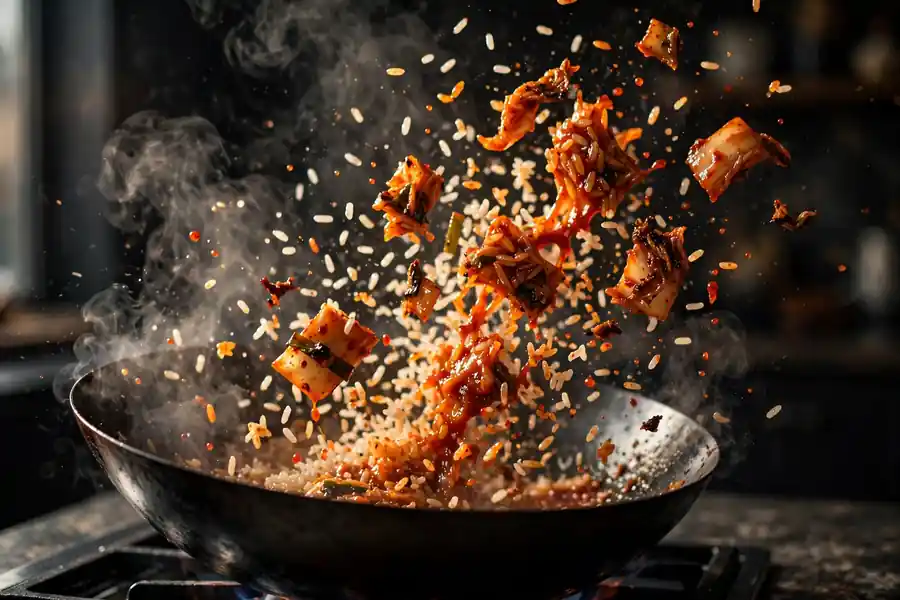
Add the cold rice to the wok. Break up any remaining clumps and toss with the kimchi. Stir-fry 3 to 4 minutes, pressing the rice flat between tosses, until the grains are hot and developing crispy, golden spots.
Step 4: Season
Pour the gochujang mixture evenly over the rice. Toss 1 to 2 minutes until every grain is coated in the glossy red sauce. Taste and adjust: more soy sauce for salt, a pinch more sugar if the kimchi is very sour. The rice should look evenly red-orange with no pale patches.
Step 5: Finish and Serve
Turn off the heat. Drizzle in the sesame oil and toss with the green onions. Divide among bowls and top each with a fried egg, sesame seeds, and extra green onions if you like. Strips of roasted seaweed on top are another classic finish. Serve immediately.
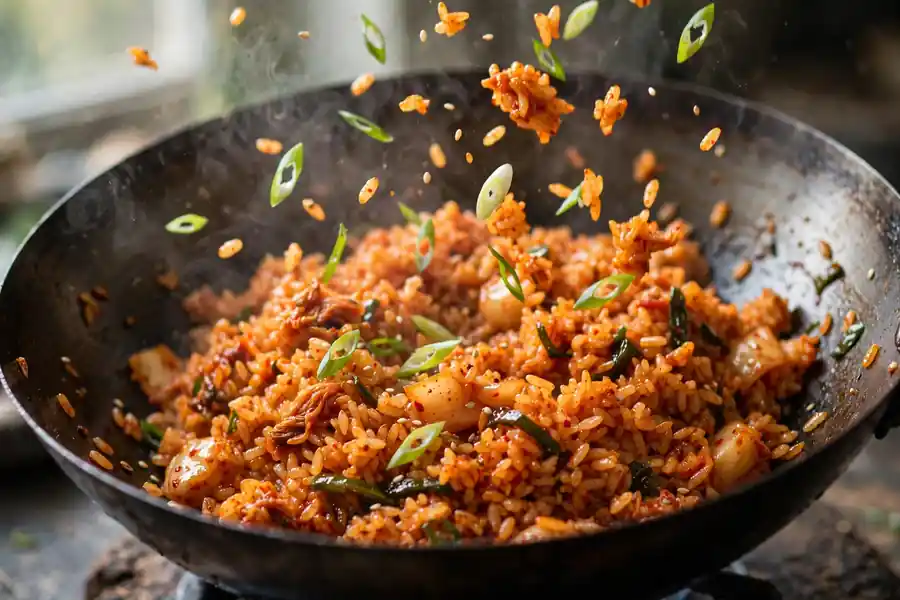
Why This Works
- Frying the kimchi first concentrates it. Direct heat drives off water and turns the sharp, raw edge sweet and caramelized.
- The juice carries the tang. Chopped kimchi alone cannot deliver the fermented depth that the jar liquid adds.
- Pressing builds crisp patches. Resting the rice against the hot pan between tosses creates the crispy, chewy contrast that makes the dish.
- Sugar balances sour. A teaspoon rounds out very sour kimchi without making the dish sweet.
Chef’s Tips for the Best Results
- Fry the kimchi before the rice. Raw kimchi added with the rice stays sharp and watery. Two to three minutes of direct frying transforms it into something sweet, deep, and caramelized.
- Use the kimchi juice. The liquid in the jar is concentrated flavor. Two tablespoons in the seasoning mix adds tang that chopped kimchi alone cannot deliver.
- Press for crispiness. Let the rice sit undisturbed for 30 to 60 seconds between tosses. Those crispy, chewy patches are the texture contrast that makes this dish great.
- Balance sour with sweet. Very sour kimchi needs the teaspoon of sugar to round out. Taste the kimchi first; if it makes you pucker, do not skip the sugar.
- Squeeze the kimchi before frying. Press the chopped kimchi over a bowl to collect extra juice and remove surface water, so the rice crisps instead of steaming.
- Stage the heat. Break up the rice clumps over medium-low heat first so the grains separate without sticking, then turn the heat high for the final toasting.
Common Mistakes and How to Fix Them
| Common Problem | Why It Happens | How to Fix It |
|---|---|---|
| Rice turns soggy | Too much kimchi juice, or the kimchi was not fried first | Fry kimchi 2 to 3 minutes to drive off moisture; measure the juice |
| Dish tastes flat | Mild, fresh kimchi used instead of sour, fermented kimchi | Use older, tangier kimchi; add extra kimchi juice or a squeeze of rice vinegar |
| Rice is unevenly colored | Gochujang added in clumps instead of premixed | Dissolve gochujang with the juice and soy sauce before adding, then toss well |
| Too sour | Very old kimchi plus too much juice | Add the sugar, and balance with a little more rice to dilute |
| No crispy bits | Heat too low, or rice stirred constantly without resting | Use high heat and press the rice flat for 30 to 60 seconds between tosses |
Ingredient Substitutions
| Original Ingredient | Substitute | Expected Difference |
|---|---|---|
| Gochujang | 2 tsp sriracha plus 1 tsp miso paste | Similar heat with less fermented sweetness |
| Kimchi | Sauerkraut plus 1 tsp gochugaru | Tangy but less complex; misses the garlic-ginger depth |
| Short-grain rice | Long-grain white rice | Looser, drier grains; still tasty |
| Soy sauce | Tamari | Slightly richer; use the same amount |
| Sesame oil | Perilla oil | Nuttier and more herbal; very close in spirit |
Recipe Variations
Cheese kimchi fried rice: After seasoning, sprinkle 1/2 cup of shredded mozzarella over the rice, cover 1 minute until melted. The gooey cheese tames the spice.
Tuna version: Add a drained 5-ounce can of tuna with the rice. A Korean comfort-food classic that adds protein cheaply.
Vegetable packed: Add 1 cup of diced zucchini or mushrooms with the kimchi. They soak up the spicy sauce beautifully.
Extra spicy: For more heat without extra salt, add 1 teaspoon of gochugaru (Korean chili flakes) instead of doubling the gochujang. Too much paste makes the dish salty before it makes it hotter.
Vegan: Use vegan kimchi (many brands contain fish sauce or shrimp paste, so check the label). The rest of the recipe is already plant based.
Store, Reheat, and Prep Ahead
Cool leftovers within 2 hours and refrigerate in airtight containers up to 4 days. The fermented kimchi keeps well, and the flavor actually deepens overnight. Freeze in portioned bags up to 2 months with air pressed out; thaw overnight in the refrigerator. Discard leftovers that smell off beyond normal kimchi tang or have been at room temperature more than 2 hours.
To reheat, heat a teaspoon of oil in a skillet over medium-high heat, add the cold rice, and stir-fry 3 to 4 minutes until steaming hot and re-crisped, adding a splash of water only if it looks dry. For the microwave, place a portion in a bowl, sprinkle with a tablespoon of water, cover loosely, and heat 2 minutes, stirring halfway. Top with a freshly fried egg after reheating for the full experience.
For prep ahead, chop the kimchi up to 3 days ahead and store it in its juice in a sealed jar. Cook and chill the rice a day ahead. Mix the gochujang, soy sauce, sugar, and kimchi juice and refrigerate up to 1 week. Slice green onions up to 3 days ahead. Fry the eggs fresh; a reheated fried egg is never as good.
More Rice Recipes to Try
If you enjoyed this recipe, you will love these other rice dishes from The World of Rice:
- Easy Kimchi Fried Rice Recipe: Spicy, Tangy & Ready in 20 Minutes
- Kimchi Fried Rice Recipe: Classic Korean Kimchi Bokkeumbap
- Kimchi Fried Rice Recipe Spam: Crispy Spam, Kimchi, and Melty Cheese
- Kimchi Spam Fried Rice Recipe: Tangy, Savory & Weeknight Easy
Frequently Asked Questions
What kind of kimchi is best for fried rice?
Older, well-fermented, sour kimchi. The acidity and deep flavor are what make the dish. Fresh, mild kimchi tastes flat in comparison.
Can I make kimchi fried rice without gochujang?
Yes. Use 1 tablespoon of soy sauce plus 1 teaspoon of gochugaru or red pepper flakes. The flavor will be less sweet and complex but still good.
Why is my kimchi fried rice soggy?
The kimchi released too much water, usually because it went in raw with the rice. Fry the kimchi first, and measure the juice instead of pouring freely.
Can I use freshly cooked rice?
It is not recommended. Fresh rice is too moist and turns mushy. If you must, spread it on a sheet pan and refrigerate uncovered for at least 30 minutes first.
What goes well with kimchi fried rice?
A fried egg is the classic topping. It also pairs well with roasted seaweed, sliced avocado, or a simple cucumber salad to cool the spice.
Final Thoughts
This kimchi fried rice recipe easy version proves that bold flavor does not require a long ingredient list. Sour kimchi, sweet-spicy gochujang, and crispy rice do all the work. Make it the next time that kimchi jar is half empty.
See the dictionary definitions for white rice and soy sauce.

Prayvista Team is the editorial team behind Prayvista, The World of Rice. The team writes and reviews rice recipes for home cooks, and every article is checked by editor Sara Raza before publishing.