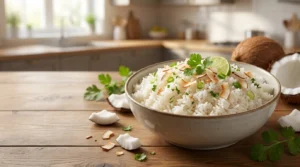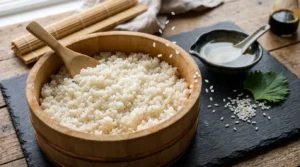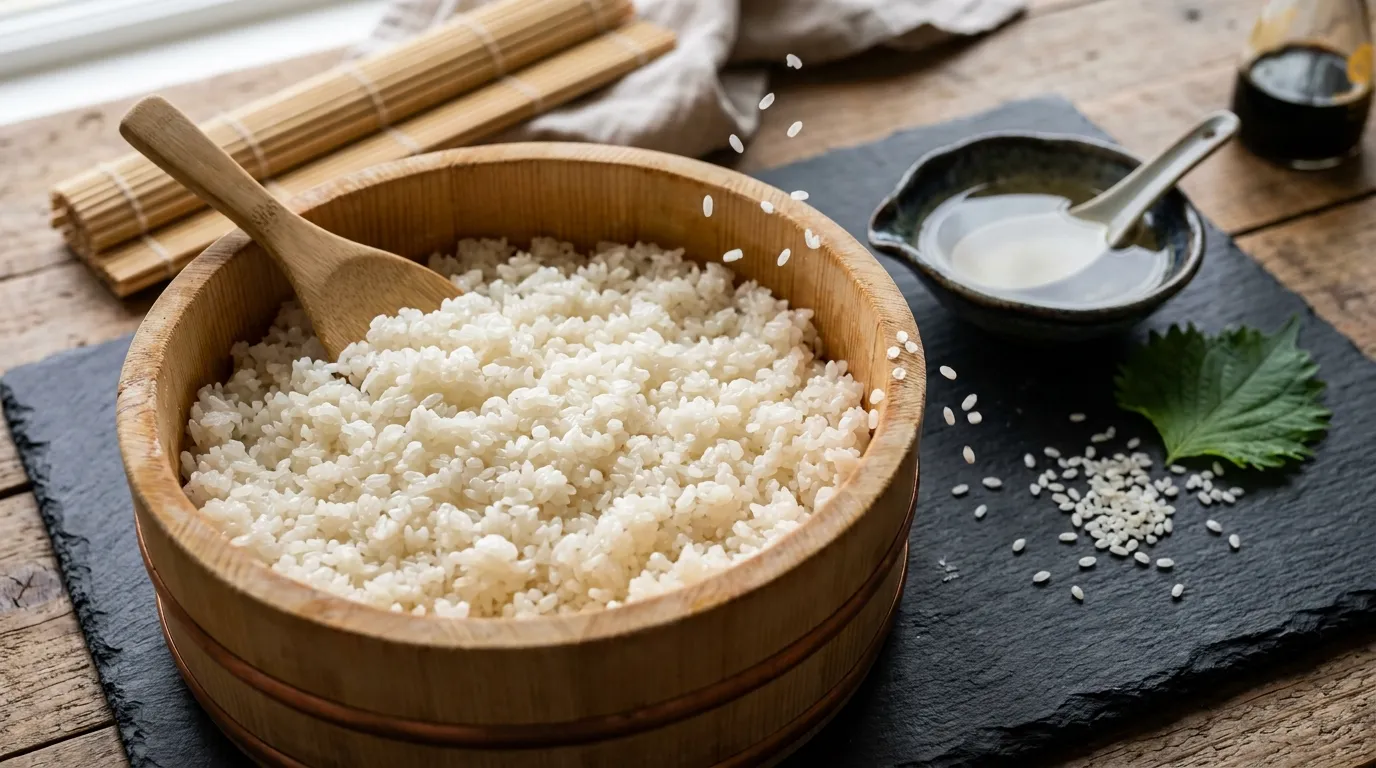
This sushi rice recipe makes perfectly seasoned, glossy, and slightly sticky rice for homemade sushi, poke bowls, onigiri, and Japanese-inspired meals. It uses simple ingredients and is ready in about 40 minutes.
The first time I made sushi at home, I thought the filling would be the hardest part. It wasn’t. The rice was my real problem. I cooked ordinary white rice, added vinegar while it was still in the pot, and ended up with rice that was either too wet or wouldn’t hold together. After making sushi rice countless times, I learned that the real secret is in the rice-to-water ratio, thorough rinsing, gentle cooking, and adding the seasoned vinegar while the rice is still warm.
This sushi rice recipe gives you that soft, glossy texture with just enough stickiness to hold sushi together without becoming mushy. Whether you’re making your first sushi rolls or simply want better rice for poke bowls, the method below makes the process much easier.
Sushi Rice Recipe at a Glance
| Recipe Detail | Information |
| Prep Time | 10 minutes |
| Cook Time | 20 minutes |
| Resting Time | 10 minutes |
| Total Time | 40 minutes |
| Servings | 4 |
| Cuisine | Japanese |
| Course | Side Dish |
| Difficulty | Easy |
| Calories | About 280 per serving |
| Best Rice | Japanese short-grain rice |
| Yield | About 4 cups cooked sushi rice |
Menu of Sushi Rice Recipe
Sushi rice is much more versatile than its name suggests. Once you have a batch ready, you can use it in several different meals.
Homemade Sushi Rolls
Use the rice for California rolls, spicy tuna rolls, salmon rolls, vegetable rolls, or simple cucumber maki.
Poke Bowls
Layer seasoned sushi rice with raw or cooked seafood, avocado, cucumber, edamame, seaweed, and your favorite sauce.
Onigiri
Shape the rice around tuna, salmon, pickled vegetables, or another filling and wrap it with nori.
Sushi Bowls
Skip rolling altogether. Add sushi rice to a bowl and top it with seafood, vegetables, avocado, and sesame seeds.
Japanese-Inspired Rice Bowls
Use the rice as a base for teriyaki chicken, grilled salmon, tofu, vegetables, or other toppings.
Why You’ll Love This Sushi Rice Recipe
- Perfect sushi texture: The rice is sticky enough to hold together without becoming gluey.
- Simple ingredients: You only need rice, water, rice vinegar, sugar, and salt.
- Beginner-friendly: No rice cooker is required.
- Works beyond sushi: Use it for poke bowls, onigiri, and rice bowls.
- Easy to prepare ahead: Cook the rice before assembling your meal.
- Better than guessing: The measurements and method help you avoid common rice problems.
Ingredients for Sushi Rice
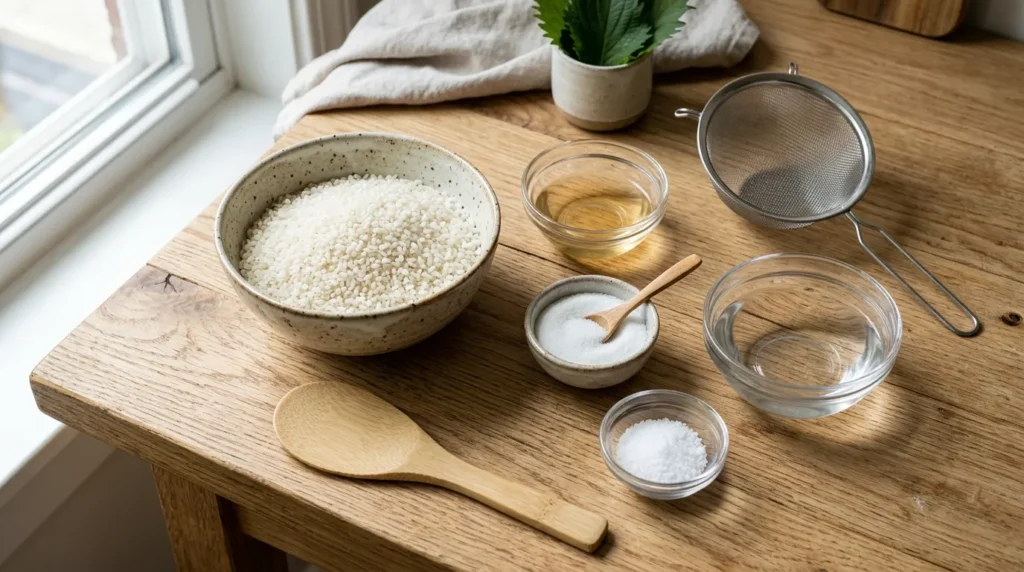
Japanese Short-Grain Rice
2 cups Japanese short-grain white rice
This is the most important ingredient. Japanese short-grain rice contains enough starch to create the characteristic sticky texture needed for sushi.
Look for packages labeled sushi rice, Japanese short-grain rice, or similar.
Substitute: Korean short-grain rice can work well.
Avoid using long-grain rice such as basmati or standard long-grain white rice. It won’t develop the same sticky texture.
Water
2¼ cups water
The exact amount can vary slightly depending on the rice brand, cooking method, and how thoroughly the rice was drained after rinsing.
Rice Vinegar
¼ cup unseasoned rice vinegar
Rice vinegar provides the gentle acidity that gives sushi rice its recognizable flavor.
Use unseasoned rice vinegar so you can control the sugar and salt yourself.
Granulated Sugar
2 tablespoons sugar
Sugar balances the acidity of the vinegar and gives the rice a subtle sweetness.
Salt
1 teaspoon fine salt
Salt rounds out the flavor and keeps the seasoned rice from tasting overly sweet.
Kitchen Tools You’ll Need
- Medium saucepan with a tight-fitting lid
- Fine-mesh strainer
- Large mixing bowl
- Wooden spoon or rice paddle
- Measuring cups and spoons
- Small saucepan or microwave-safe bowl
A rice cooker is convenient but not necessary. A regular heavy-bottomed saucepan works beautifully.
How to Make Sushi Rice
Step 1: Measure and Rinse the Rice
Place 2 cups of short-grain rice into a fine-mesh strainer or bowl.
Rinse the rice under cold water, gently moving the grains with your fingers.
Continue rinsing until the water becomes much clearer.
Why it matters: Rice contains excess surface starch. Removing some of it helps prevent the finished rice from becoming excessively gummy.
Don’t scrub the grains aggressively because that can damage them.
Step 2: Drain the Rice Well
After rinsing, allow the rice to drain thoroughly for several minutes.
This step is easy to overlook, but it matters because excess water from rinsing can change the final rice-to-water ratio.
Chef’s tip: If you’re preparing sushi rice regularly, take a little extra time to drain it properly. Consistency makes a noticeable difference.
Step 3: Combine Rice and Water
Place the rinsed and drained rice in a saucepan.
Add 2¼ cups of water.
Let the rice sit in the water for about 10 minutes before cooking.
This gives the grains a chance to begin absorbing moisture evenly.
Step 4: Cook the Rice
Cover the saucepan tightly with its lid.
Bring the water to a boil over medium-high heat.
Once boiling, immediately reduce the heat to low.
Cook for approximately 15 minutes.
Do not lift the lid while the rice cooks.
The trapped steam is essential for cooking the grains evenly.
Step 5: Let the Rice Rest
Turn off the heat and leave the saucepan covered for another 10 minutes.
This resting period allows the remaining steam to finish cooking the rice and helps distribute moisture throughout the grains.
The rice should now be tender, glossy, and slightly sticky.
Step 6: Make the Sushi Vinegar
While the rice rests, combine:
- ¼ cup rice vinegar
- 2 tablespoons sugar
- 1 teaspoon salt
Warm the mixture gently in a small saucepan or microwave until the sugar and salt dissolve.
Do not boil the vinegar.
Set it aside to cool slightly.
Step 7: Transfer the Rice
Transfer the hot cooked rice to a large, shallow bowl.
A wooden or glass bowl works well.
Avoid leaving it in the hot saucepan because the residual heat can continue cooking the bottom layer.
Step 8: Add the Seasoned Vinegar
Drizzle the seasoned vinegar evenly over the warm rice.
Using a rice paddle or wooden spoon, gently fold the vinegar into the rice.
Don’t stir aggressively.
Chef’s technique: Use a gentle cutting and folding motion rather than crushing the rice grains.
Step 9: Cool the Sushi Rice
Spread the rice gently across the bowl to help excess moisture escape.
Allow it to cool until it reaches approximately room temperature.
The rice should feel moist and sticky but not wet.
For the best sushi texture, use it once it has cooled enough to handle comfortably.
Chef’s Tips for Perfect Sushi Rice
Choose the Right Rice
This is more important than any other ingredient. Japanese short-grain rice provides the starch and texture sushi requires.
Rinse Thoroughly
Cloudy rinse water indicates surface starch. You don’t need perfectly clear water, but it should become noticeably less cloudy.
Don’t Open the Lid
Every time you lift the lid during cooking, steam escapes. That can interfere with proper cooking.
Season While the Rice Is Warm
Warm rice absorbs the seasoned vinegar more effectively than cold rice.
Fold Instead of Stir
Aggressive stirring can crush the grains and turn your sushi rice into a paste.
Common Sushi Rice Mistakes
| Mistake | Why It Happens | How to Fix It |
| Rice is too mushy | Too much water or overcooking | Measure water carefully and follow the cooking time |
| Rice is too dry | Not enough water or steam escaped | Keep the lid tightly closed while cooking |
| Rice is too sticky | Excess surface starch or too much water | Rinse thoroughly and drain well |
| Rice tastes too sour | Too much vinegar | Measure the seasoning accurately |
| Rice falls apart in sushi | Wrong rice variety | Use Japanese short-grain rice |
| Rice tastes bland | Not enough seasoning | Adjust vinegar, sugar, and salt carefully |
Sushi Rice Recipe Variations
Less Sweet Sushi Rice
Reduce the sugar to 1 tablespoon if you prefer a more savory flavor.
Brown Sushi Rice
Use Japanese short-grain brown rice for a nuttier, more fiber-rich option. Keep in mind that brown rice generally needs a different cooking method and more water.
Seasoned Sushi Rice for Poke Bowls
Add a small amount of toasted sesame oil and sesame seeds after the rice has been seasoned for a richer poke bowl base.
Vegan Sushi Rice
The basic recipe is already vegan. Pair it with avocado, cucumber, carrots, tofu, edamame, and other plant-based fillings.
Spicy Sushi Bowl Rice
Keep the rice seasoning classic and add spicy mayo, chili sauce, or spicy toppings to the finished bowl rather than changing the rice itself.
What to Serve With Sushi Rice
Sushi rice pairs with far more than traditional sushi.
Seafood
- Salmon
- Tuna
- Cooked shrimp
- Crab
- Seared scallops
Vegetables
- Avocado
- Cucumber
- Carrots
- Edamame
- Pickled ginger
- Seaweed
Sauces
- Soy sauce
- Spicy mayo
- Teriyaki sauce
- Eel sauce
- Ponzu
Other Japanese-Inspired Sides
- Miso soup
- Seaweed salad
- Japanese cucumber salad
- Edamame
- Gyoza
Storage and Reheating
Refrigerator Storage
Sushi rice is best when freshly prepared, but leftovers can be refrigerated in an airtight container.
For the best quality, use it within 1–2 days.
The refrigerator can make rice firm and dry, so don’t expect it to have exactly the same texture as freshly prepared sushi rice.
Freezer Storage
If you have more rice than you can use, freeze it in airtight freezer-safe portions.
Use within 1 month for the best texture.
However, freshly made sushi rice is generally preferable for sushi rolls.
Meal Prep Tips
Prepare the rice earlier in the day and keep it covered at room temperature for short-term use rather than refrigerating it if you’re planning to make sushi soon.
Avoid leaving cooked rice at room temperature for extended periods.
Best Reheating Method
If you are using leftover rice for a cooked dish, microwave it covered with a damp paper towel or a small splash of water.
For sushi, reheating isn’t recommended because it can change the texture and make the rice difficult to shape.
Sushi Rice Nutrition
Approximate nutrition per serving:
| Nutrient | Amount |
| Calories | 280 |
| Protein | 5g |
| Carbohydrates | 61g |
| Fat | 1g |
| Fiber | 1g |
Nutrition information is an estimate and will vary depending on the rice brand, serving size, sugar, and other ingredients used.
Frequently Asked Questions About Sushi Rice Recipe
What type of rice is best for sushi rice?
Japanese short-grain white rice is the best choice. It has the right starch content and texture to become sticky enough for sushi while still maintaining individual grains.
Can I use regular white rice for sushi?
You can, but long-grain white rice isn’t ideal. It tends to stay too separate and won’t hold sushi rolls together properly. Japanese short-grain rice gives much better results.
Do I have to rinse sushi rice?
Yes, rinsing is highly recommended. It removes excess surface starch and helps prevent the cooked rice from becoming overly gummy.
Why is my sushi rice too sticky?
Sushi rice should be sticky, but it shouldn’t be mushy or paste-like. Too much water, insufficient rinsing, or overmixing after cooking can cause excessive stickiness.
Can I make sushi rice without a rice cooker?
Absolutely. A saucepan with a tight-fitting lid works very well. The key is maintaining the correct rice-to-water ratio and keeping the lid closed during cooking.
Conclusion
Once you understand the basics, making a great sushi rice recipe at home is surprisingly simple. The biggest lessons are to choose Japanese short-grain rice, rinse it properly, measure the water carefully, and gently fold in the seasoned vinegar while the rice is warm.
Those small details are what turn ordinary cooked rice into the soft, glossy, slightly sticky rice that makes homemade sushi so much easier. Whether you’re rolling sushi, preparing poke bowls, or making onigiri, this recipe gives you a reliable foundation. Give it a try, and enjoy your next homemade Japanese-inspired meal!
Best Chicken and Rice Recipe: Easy & Flavorful

I am Sara,a professional cook and recipe writer with 8 years of hands-on cooking experience. I specialize in simple, family-friendly meals and have spent years developing and testing rice recipes to make them easy, flavorful, and reliable for home cooks.