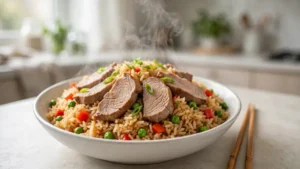
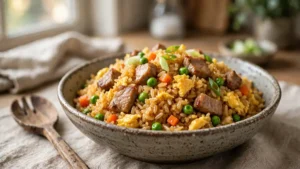
Every hibachi dinner ends the same way: the chef piles rice onto the hot grill, and the whole table leans in. This fried rice hibachi recipe is that moment, recreated at home. Buttery rice with charred onion, ribbons of egg, and a garlicky finish, cooked on one screaming-hot pan and ready in about 25 minutes.
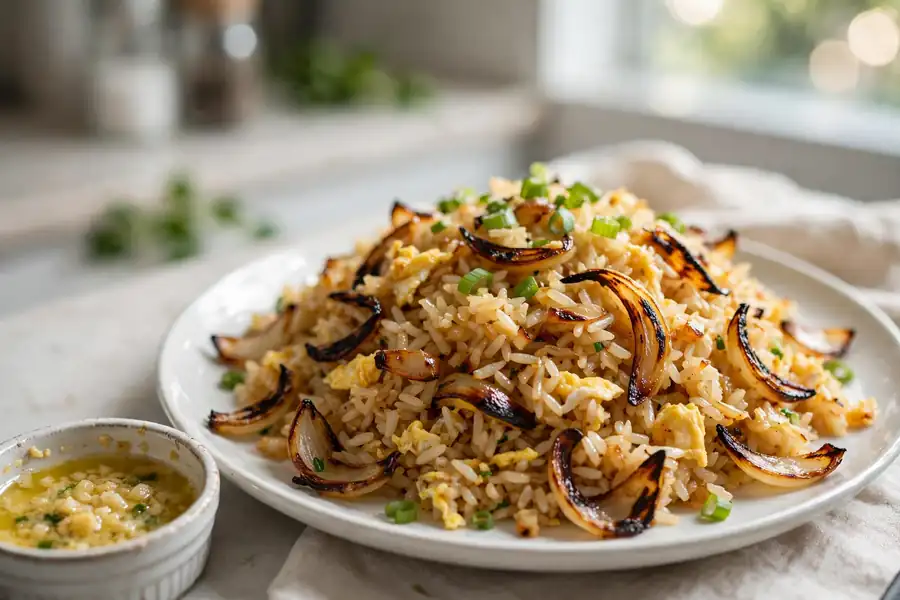
Menu of Fried Rice Hibachi Recipe
This fried rice hibachi recipe guide covers the full ingredient list with US measurements, step-by-step instructions, why the garlic butter method works, chef tips, a troubleshooting table, substitutions, variations, storage and reheating guidance, and answers to common questions.
Ingredients for Fried Rice Hibachi Recipe
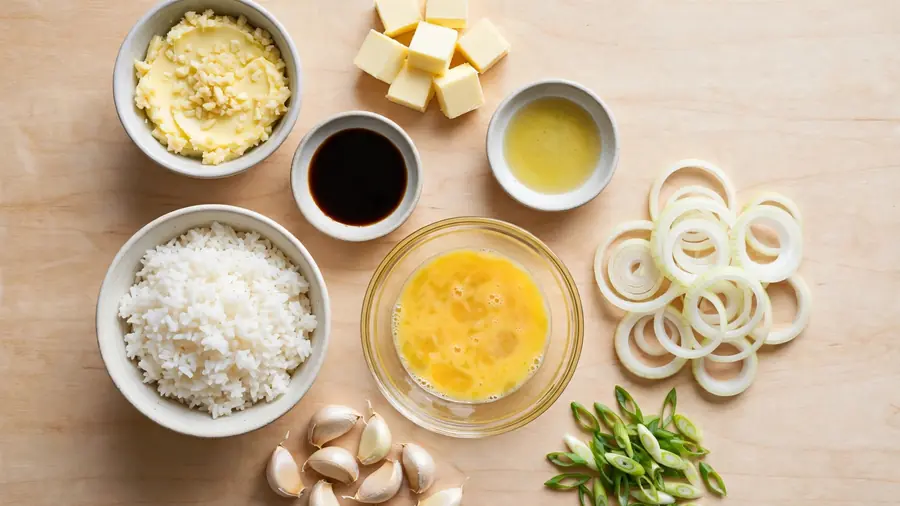
For the Garlic Butter
- 4 tablespoons unsalted butter, softened
- 3 cloves garlic, minced (about 1 tablespoon)
- 1/4 teaspoon salt
For the Fried Rice
- 4 cups cooked long-grain white rice, chilled overnight
- 1 tablespoon vegetable oil
- 1/2 large yellow onion, sliced into half-rings
- 2 large eggs, lightly beaten
- 3 tablespoons soy sauce
- 1 teaspoon toasted sesame oil
- 1/2 teaspoon black pepper
- 3 green onions, thinly sliced
Notes on ingredients: The garlic butter makes more than you need for the rice. That is intentional. Use the extra on grilled vegetables, steak, or bread, just like the chefs do on the hibachi grill. Use fresh garlic, not jarred, for the brightest garlic flavor. Make the butter ahead and keep it refrigerated; bring it to room temperature before cooking so it mashes and melts evenly.
You will need: a large wok or 12-inch skillet, or a flat griddle, a spatula, and a small bowl for the garlic butter.
How to Make Fried Rice Hibachi Recipe
Step 1: Make the Garlic Butter
Mash the softened butter with the minced garlic and salt in a small bowl until smooth and evenly combined. Set it aside at room temperature. This recipe starts here because the garlic butter needs to be ready before the pan gets hot.
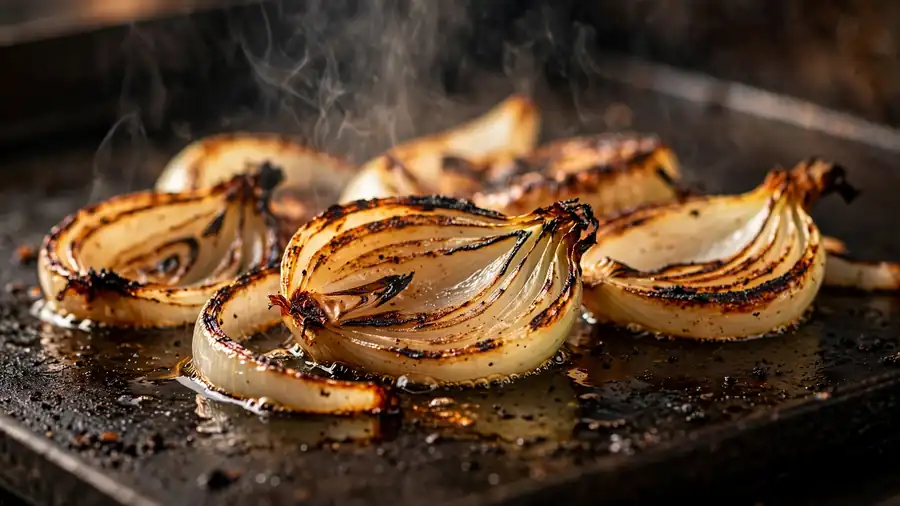
Step 2: Char the Onion
Heat the vegetable oil in the skillet or griddle over medium-high heat until shimmering. Add the onion half-rings in a single layer and let them sit 2 to 3 minutes without moving. Flip and cook 2 to 3 minutes more, until the edges are charred and the onion is softened but still has bite. Push to the side of the pan.
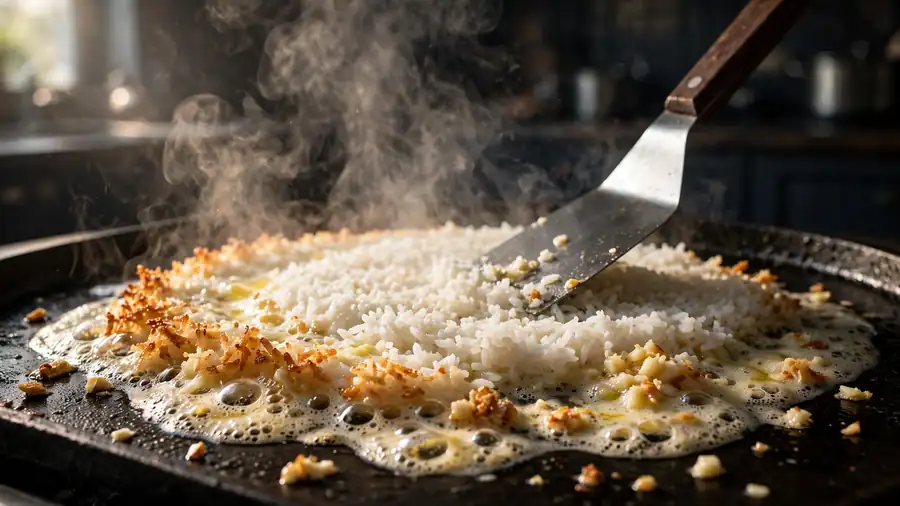
Step 3: Crisp the Rice in Garlic Butter
Add 2 tablespoons of the garlic butter to the hot surface and let it melt and sizzle. Let it sizzle about 30 seconds so the garlic cooks without turning harsh. Add the cold rice in an even layer over the melted butter. Press lightly with the spatula and let it sit 2 minutes. Flip sections and rest 2 more minutes, until golden crispy bits form.
Step 4: Season
Drizzle the soy sauce around the hot edges of the pan and toss the rice through it. Sprinkle with black pepper and toss again. Taste a grain; it should be savory and buttery with a gentle garlic background.
Step 5: Fold in the Eggs
Clear a space in the center of the pan. Pour in the beaten eggs and let them set 20 seconds, then scramble into soft curds, 30 to 45 seconds. Fold the rice and onion over the eggs and toss everything together 1 minute.
Step 6: Finish
Dot the remaining garlic butter over the rice and toss until it melts through. Drizzle with sesame oil, shower with green onions, and serve immediately.

Why This Works
- Garlic butter in two additions does two jobs. The first addition fries the rice; the second melts into the hot rice at the end for a fresh wave of garlic aroma.
- Charred onion adds sweetness. The browned edges give smoky sweetness that pale, steamed onion cannot match.
- Cold rice and a thin layer make crisp bits. Chilled, day-old rice spread thin touches the hot surface directly instead of steaming.
- Soft eggs stay visible. Eggs pulled while just set and glossy finish in the hot rice instead of turning rubbery or disappearing.
Chef’s Tips for the Best Results
- Do not rush the onion char. The 5 minutes it takes to get those browned edges is where the smoky sweetness comes from.
- Use the garlic butter in two additions. Half fries the rice, half finishes it.
- Keep the eggs soft. Pull them when they are just set and still glossy. They will finish cooking in the hot rice.
- Measure the butter. Use 2 tablespoons to fry and the rest to finish, rather than eyeballing, so the rice does not turn oily.
Common Mistakes and How to Fix Them
| Common Problem | Why It Happens | How to Fix It |
|---|---|---|
| Garlic tastes harsh or raw | Garlic butter was not cooked long enough in the pan | Let the first butter addition sizzle 30 seconds before adding rice |
| Onion burns instead of charring | Heat was too high, or slices were too thin | Use medium-high heat and thick half-rings; flip once, not constantly |
| Rice is oily | Too much garlic butter for the amount of rice | Use 2 tablespoons to fry and the rest to finish; measure rather than eyeballing |
| No crispy bits | Rice was too wet or the pan was crowded | Use chilled day-old rice and spread it in a thin layer |
| Eggs disappear into the rice | Eggs were overbeaten or overcooked before folding | Scramble briefly into large soft curds and fold through gently |
Ingredient Substitutions
| Original Ingredient | Substitute | Expected Difference |
|---|---|---|
| Unsalted butter | Salted butter | Skip the added salt in the garlic butter |
| Yellow onion | Sweet onion, such as Vidalia | Sweeter and softer; chars a little faster |
| Soy sauce | Coconut aminos | Milder and slightly sweeter; use 1 extra teaspoon |
| Sesame oil | Omit and add 1 extra tablespoon of butter | Less nutty aroma but still rich |
| Green onions | Fresh parsley | Different flavor profile; adds freshness but no onion bite |
Recipe Variations
Shrimp hibachi fried rice: Sear 3/4 pound of peeled shrimp in garlic butter first, set aside, and fold back in at the end.
Chicken hibachi fried rice: Add 1 pound of diced chicken breast, seared in the garlic butter before the rice step.
Extra garlic version: Add 2 more cloves of minced garlic to the butter for a bold, punchy finish.
Loaded version: Add sliced mushrooms and zucchini with the onion for the full hibachi vegetable spread.
Store, Reheat, and Prep Ahead
Cool leftovers within 2 hours and refrigerate in airtight containers for up to 4 days. Freeze for up to 2 months in portioned bags with the air pressed out; thaw overnight in the refrigerator. To reheat, warm in a skillet over medium heat with a teaspoon of oil for 3 to 4 minutes until steaming, or microwave with a tablespoon of water, covered loosely, for 2 minutes, stirring halfway. For prep ahead, cook the rice a day ahead and make the garlic butter ahead; cook the fried rice fresh, since the crispy texture only happens right off the heat.
More Rice Recipes to Try
If you enjoyed this recipe, you will love these other rice dishes from The World of Rice:
- Best Hibachi Fried Rice Recipe: Japanese Steakhouse Copycat
- Fried Rice Recipe Hibachi: Japanese Steakhouse Style at Home
- Hibachi Chicken And Fried Rice Recipe: Juicy Garlic Butter Dinner
- Hibachi Chicken Fried Rice Recipe: Better Than the Steakhouse
Frequently Asked Questions
What is hibachi garlic butter?
It is softened butter mashed with fresh garlic and salt, kept on the grill by hibachi chefs and melted into rice, vegetables, and proteins for flavor.
Can I use jarred minced garlic?
Fresh is much better here. Jarred garlic has a muted, slightly sour flavor that does not give the same bright garlic punch.
Do I need a griddle for hibachi fried rice?
No. A large cast iron or heavy stainless skillet works well. The key is a wide, hot surface, not the specific equipment.
Why is my hibachi rice not crispy?
The rice was probably too fresh or the pan was too crowded. Use day-old chilled rice and spread it thin so every grain touches the hot surface.
Can I make this recipe ahead?
Cook the rice and make the garlic butter ahead, but cook the fried rice fresh. The crispy texture only happens right off the heat.
Final Thoughts
Make the garlic butter first, char the onion properly, and let the rice sit long enough to crisp. Those three habits give you the hibachi grill flavor at home.
See the dictionary definitions for onion and garlic.

Prayvista Team is the editorial team behind Prayvista, The World of Rice. The team writes and reviews rice recipes for home cooks, and every article is checked by editor Sara Raza before publishing.